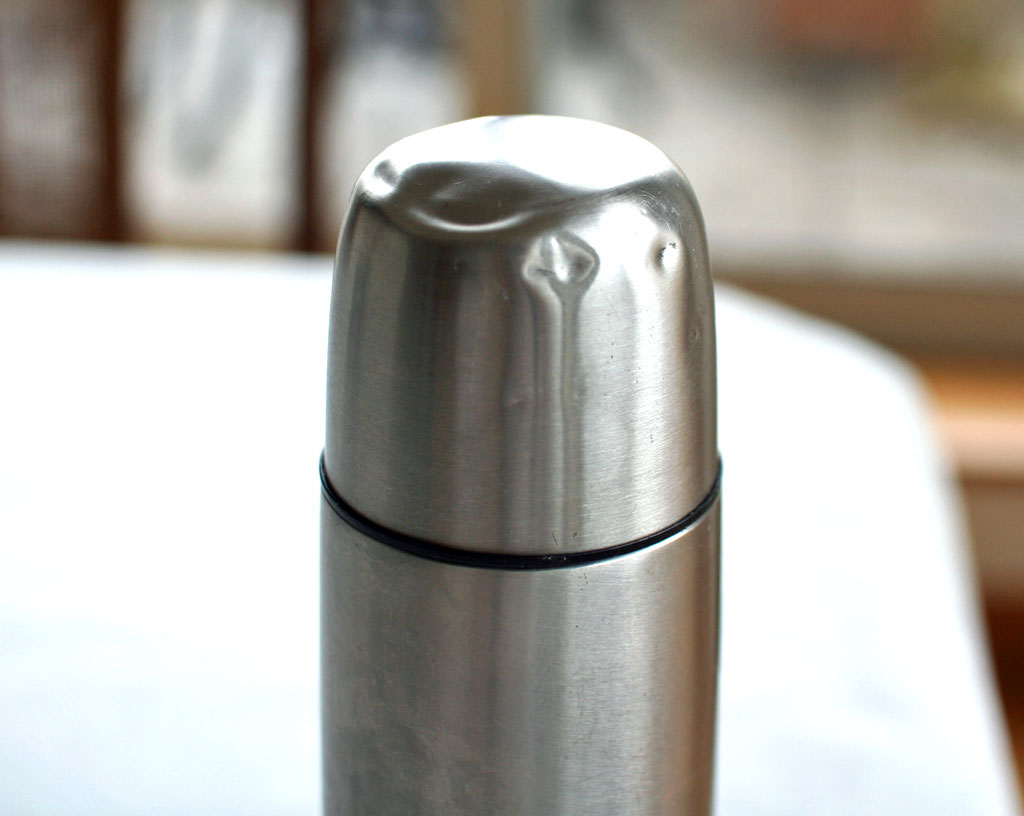
A stainless bottle I’ve used for years. Before I knew it, the lid was dented in all over. With no handle and a smooth surface, it rolls, slips from my hand, and I keep dropping it. The other day it even fell out of my bag at a convenience store. The insulation still works fine, but when I use the lid as a cup it wobbles a little, and the dents have started to bother me.
Looking around for tools
#
Lucky or unlucky, our car is covered in scratches, so I had bodywork tools more or less on hand - I thought I could probably fix this too. Since the paint I’d use is what I used on the car, the result would be a stainless bottle in my car’s color. That sounded kind of fun, so I started work.
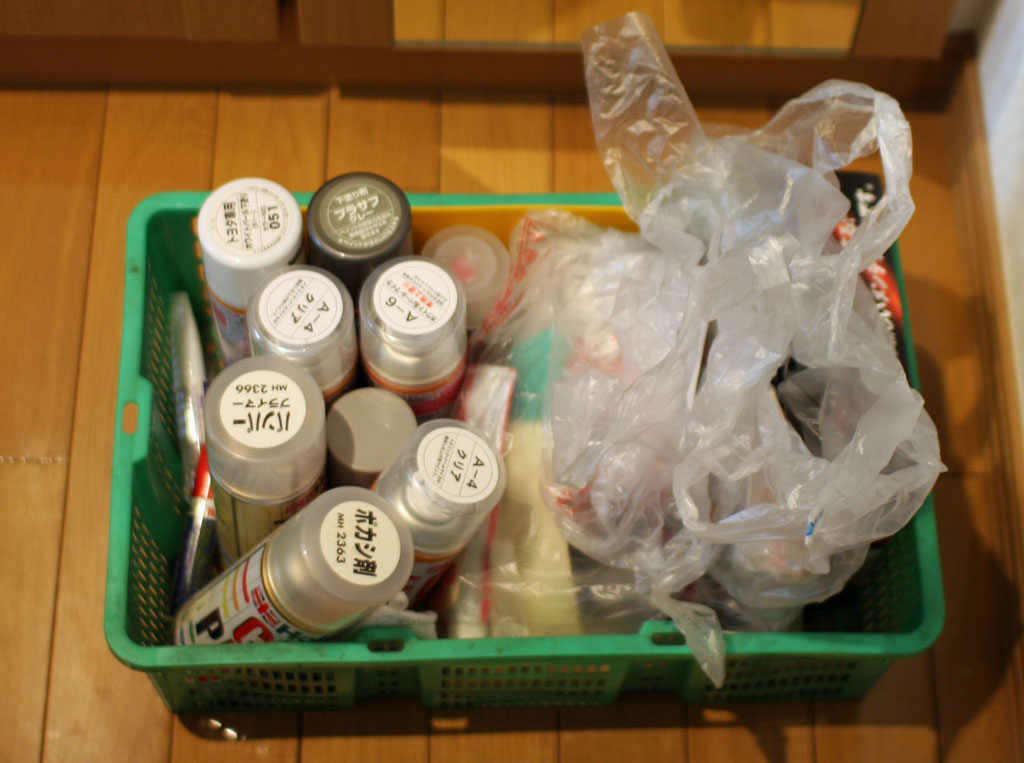
| A few spray cans of paint. |
 |
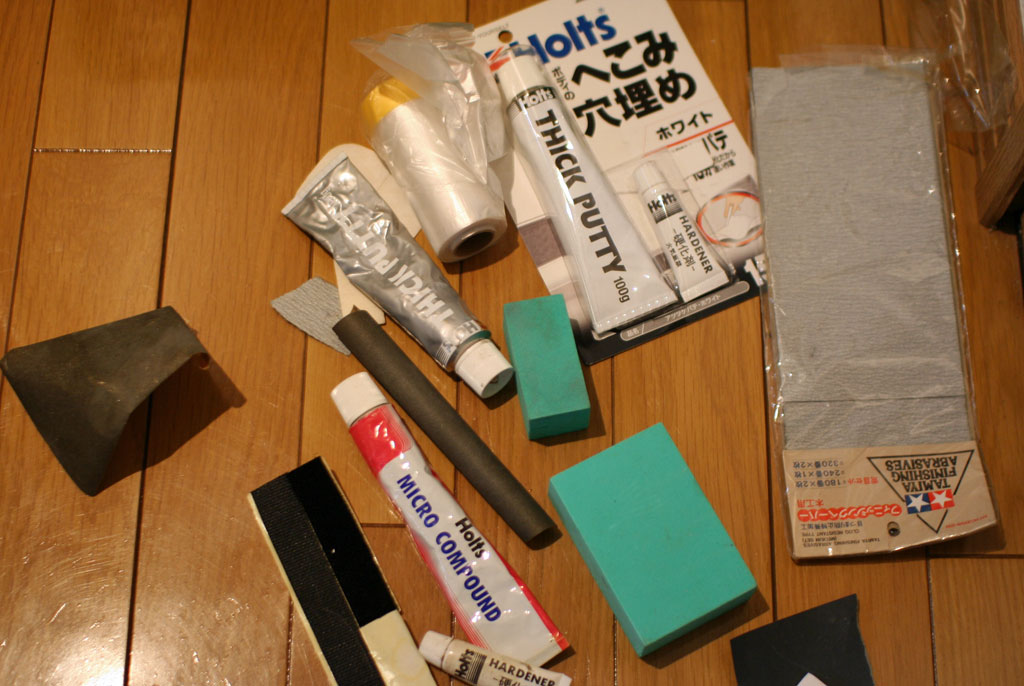
| Body filler, sandpaper, masking tape, etc. |
 |
| — |
— |
Let’s try some bodywork.
#
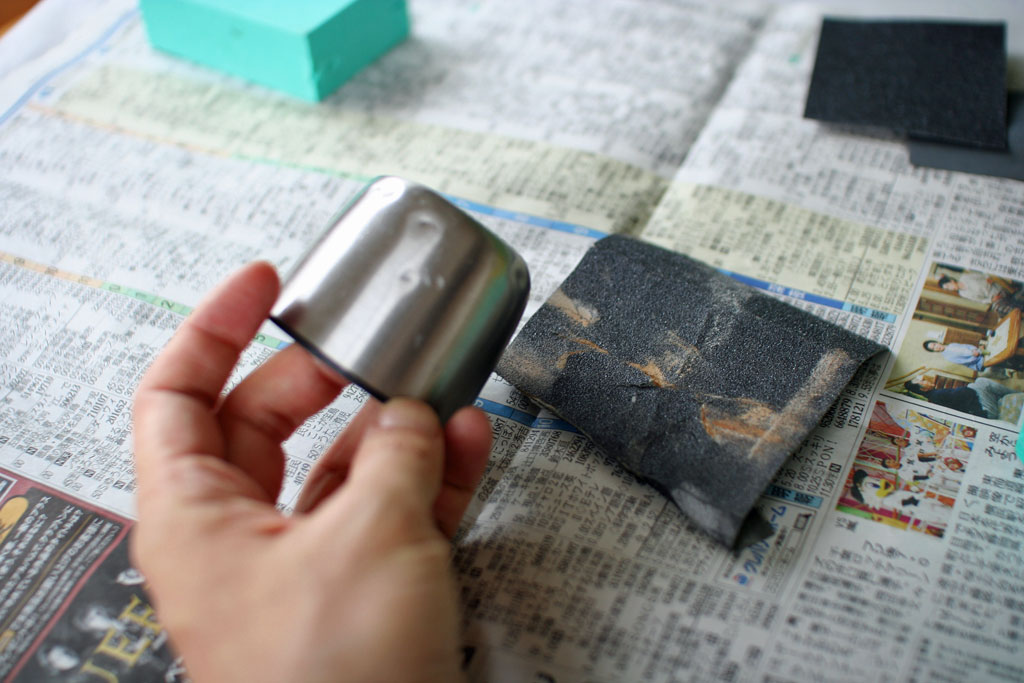
| Sand the area to be filled. I used slightly coarse sandpaper, around #200. |
 |
| The filler is the mix-with-hardener type. It says it cures in 15 minutes, but it’s winter now, and by experience it needs 2 to 3 hours to cure properly. If it isn’t fully cured, it melts off when you sand it, so don’t rush - wait for it to cure properly. |
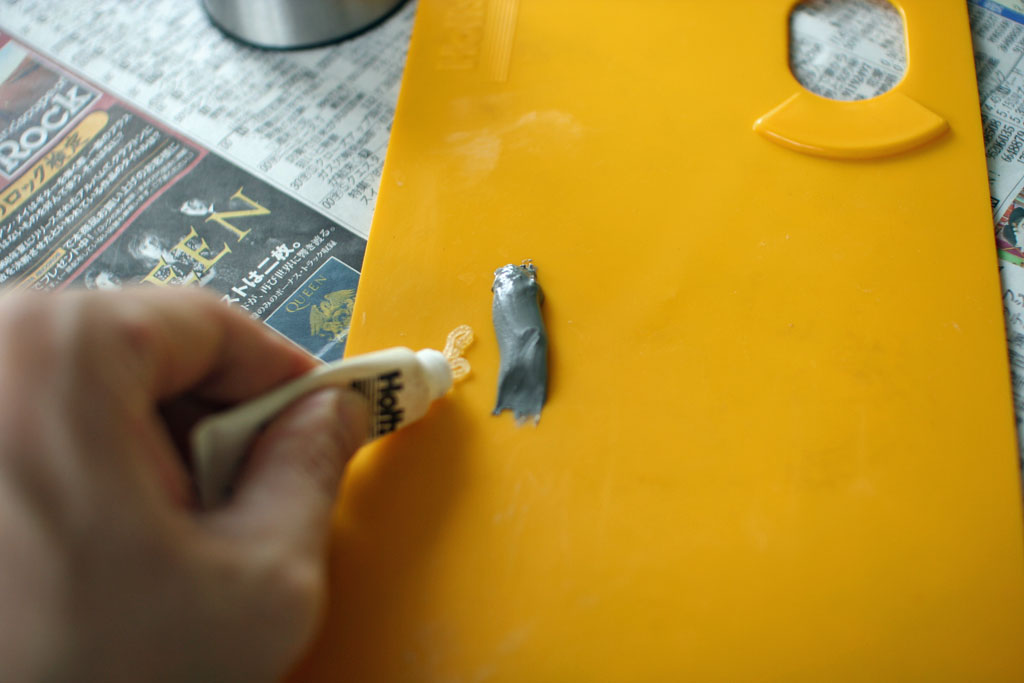 |
| — |
— |
| The filled area. I want to fill it as smoothly as possible, but it keeps ending up bumpy. |
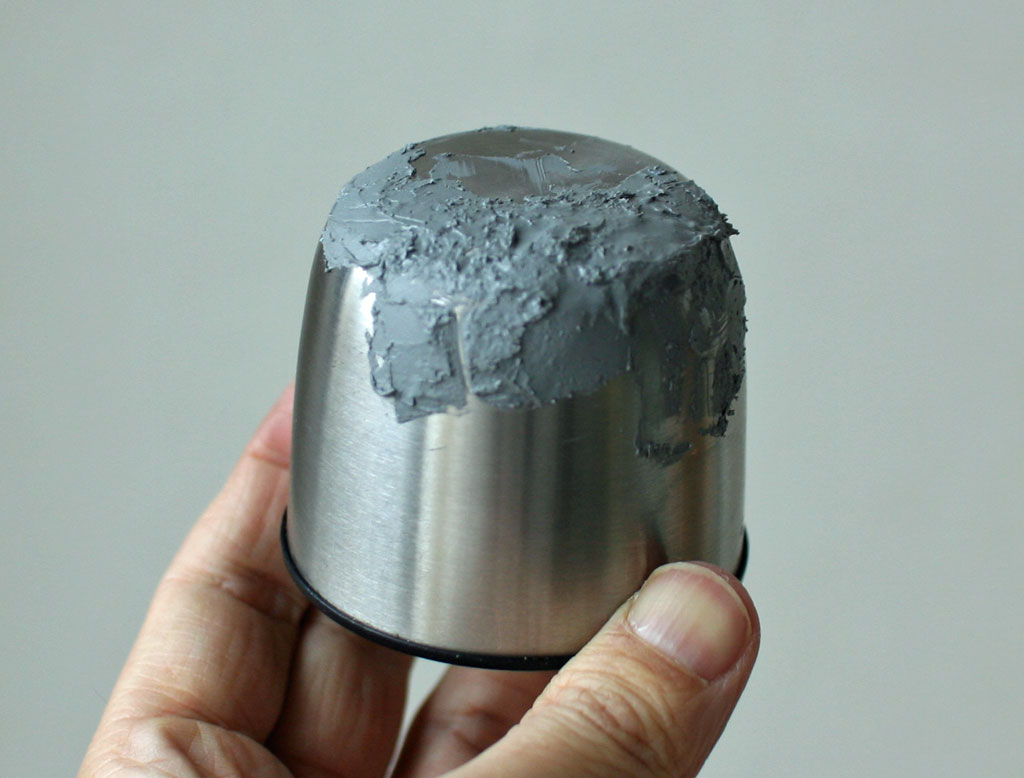 |
| — |
— |
| Once the filler is hard, file it down. Since it’s wet sandpaper, I rinse away the clogged grit as I work. |
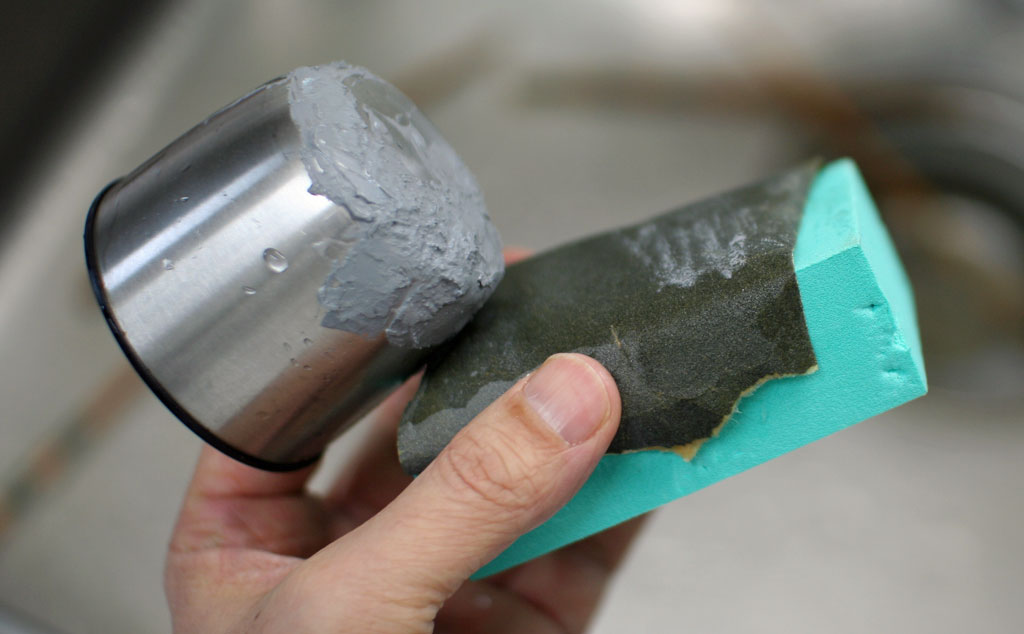 |
| — |
— |
| After filing. As with the car, if the surface isn’t properly smoothed at this stage the paint won’t turn out clean, so careful finishing is important. |
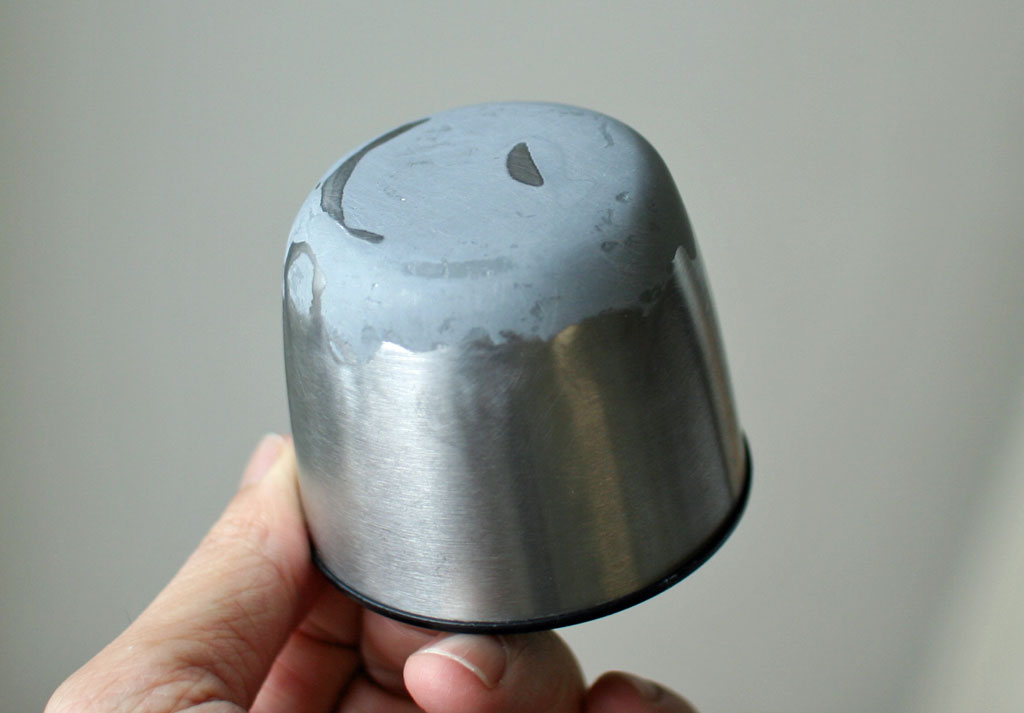 |
| — |
— |
Now for the paint!
#
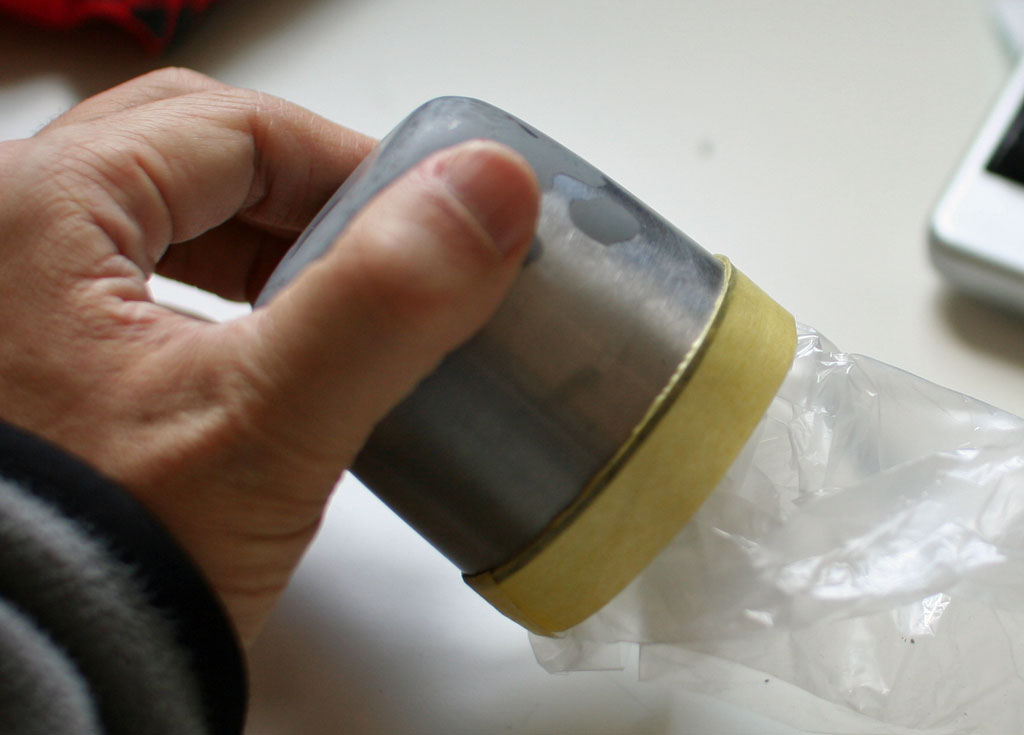
| Mask off the areas not to be painted. |
 |
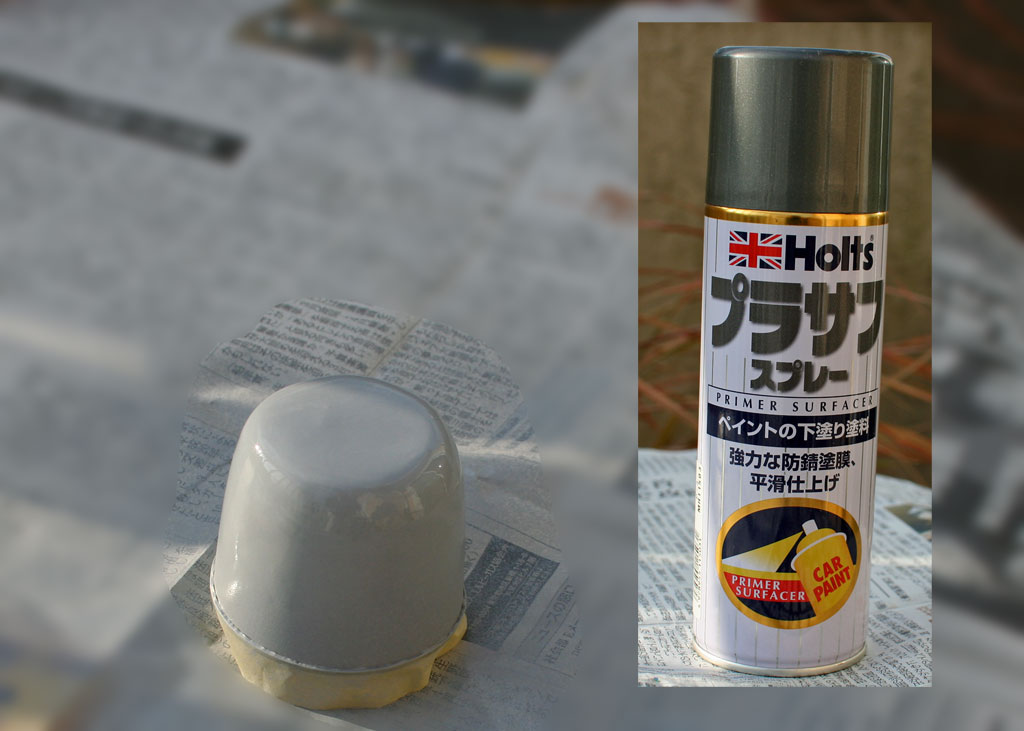
| Prime with plastic sealer. Apply several coats, then finish with about #1000 sandpaper. Don’t sand too hard or you’ll sand the paint off - just a light rub. |
 |
| — |
— |
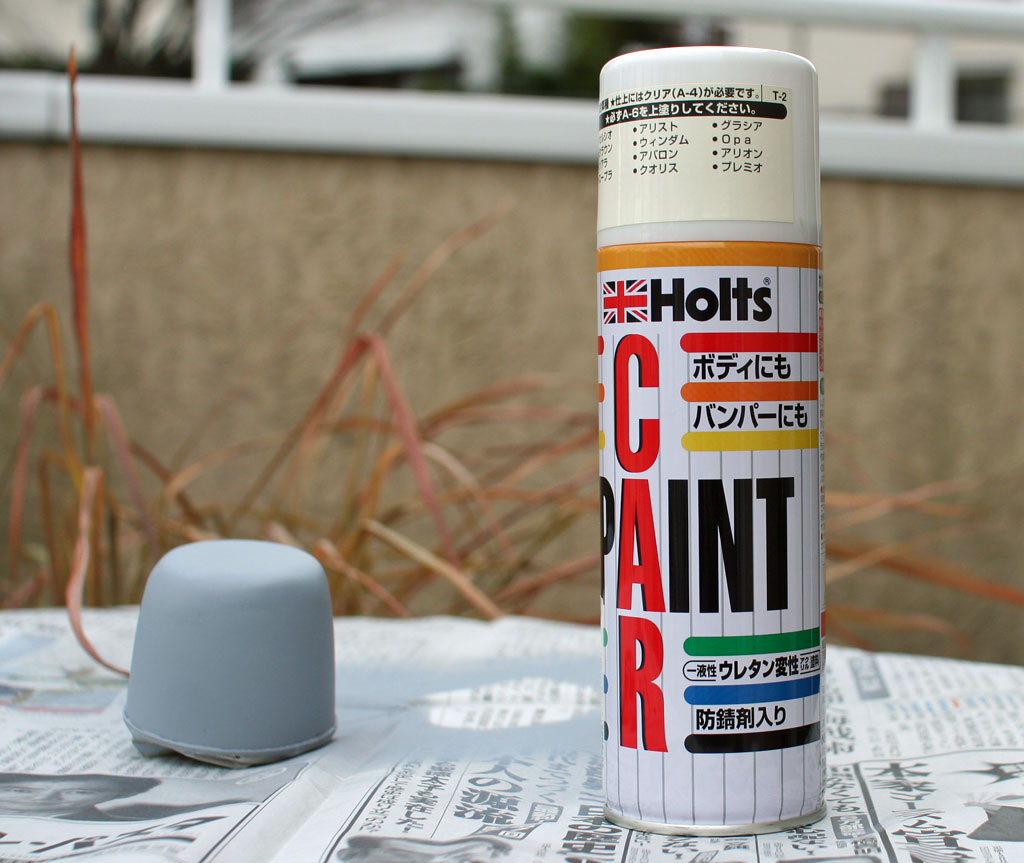
| The white-pearl spray I used when fixing the car. |
 |
| — |
— |
| That’s all for today. I’ll update with the rest later. |
|
