
Swapping the handlebar and grips on an ordinary bicycle is surprisingly easy. If you’re unhappy with your bike’s riding position or handlebar, why not consider a swap?
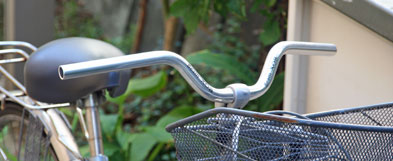
Before the swap #
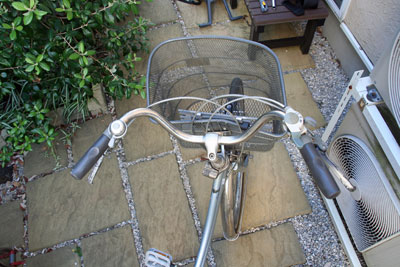
This time I tried swapping the handlebar on a city bike (mama-chari) I’d ridden for 6 years.
The old handlebar was a semi-up type: comfortable position, but hard to put power into on hills.
Terms used on this page #
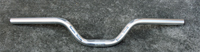
| 【Handlebar】 On this page, “handlebar” means the handlebar. |
 |
|---|---|
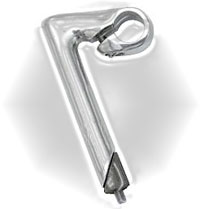
| 【Stem】 On this page, “stem” means the shape shown in the right photo, commonly used on lightweight city bikes. This shape of stem is also called a quill stem or thread stem. |
 |
| — | — |
What I prepared for the swap #
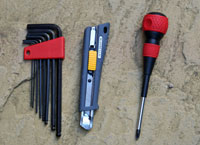
| 【Tools】 Hex wrench Box cutter (to cut the grip) Screwdriver |
 |
|---|---|
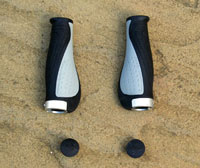
| 【Grip】 Grips come in slide-on type and bolt-fixing type. This time I chose the bolt-fixing type. The spoon-shaped grip can be found by searching “comfort type”. |
 |
| — | — |
| 【Handlebar】 Not a completely flat bar, but an up bar. Still considerably lower than the one it came with. |
|
| — | — |
The swap work #
I’ll explain the work in order. Including taking photos, it took about 30 minutes.
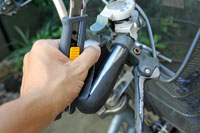
| 【Removing the grips】 Since I wasn’t reusing the old grips, I cut them off with a box cutter. To reuse them, make a gap between the grip and the bar with a screwdriver, pour in water or cleaner, and pull it out while it slides. |
 |
|---|---|
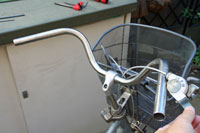
| 【Removing the parts】 Remove the brakes, bell, etc. Using hex wrenches and screwdrivers, remove every part on the handlebar. |
 |
| — | — |
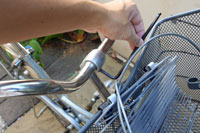
| 【Removing the handlebar】 Loosen the stem bolt and remove the handlebar. |
 |
| — | — |
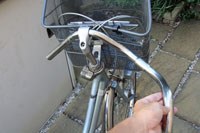
| 【Swapping the handlebar】 Remove the handlebar from the stem, taking care not to scratch it. |
 |
| — | — |
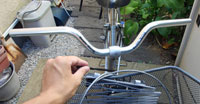
| 【Mounting the handlebar】 Mount the new handlebar carefully without scratching it, and tighten the stem bolt. |
 |
| — | — |
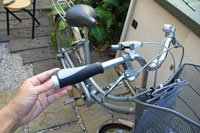
| 【Mounting the parts and grips】 Mount the parts in reverse order of removal. The position changes, so tighten the bolts while adjusting the angle of the brakes and so on. |
 |
| — | — |
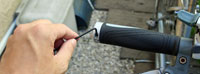
| 【Fixing the grips】 The grips I fitted are the bolt-fixing type, as in the photo. They slide on and lock, so angle adjustment is easy. |
 |
| — | — |
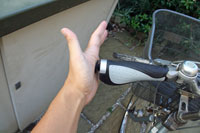
| 【Mounting the grip ends】 After the handlebar bolts are done, mount the grip ends last. |
 |
| — | — |
Done! #
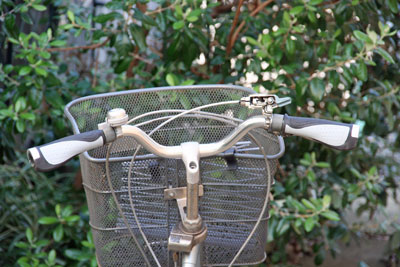 ## Bonus
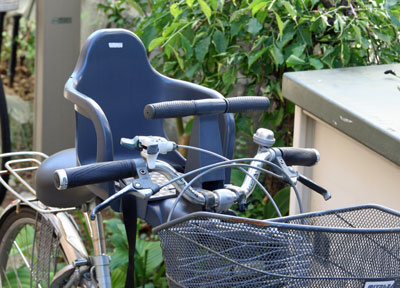
I worried about whether a child passenger seat would fit on the handlebar, but it fit without issue. As I expected, with a flatter bar the posture leans forward more, so the distance between my child's head and my face got considerably shorter.
 ## Amazon has all sorts, so a few introductions
Bicycle handlebars, grips, and stems are sold in various types on Amazon. [Search on Amazon](https://www.amazon.co.jp/s?k=自転車+ハンドル+グリップ)