
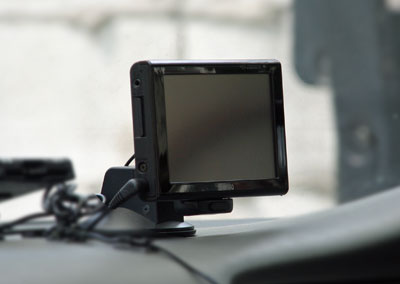
A portable nav can be installed easily without specialized knowledge or skill. This time I installed a SANYO GORILLA NV-SB550DT on the dashboard.
What I bought #
The portable nav unit alone is usable, but it did not come with a remote control, and the built-in antenna had weak One Seg reception, so I bought the genuine film antenna.
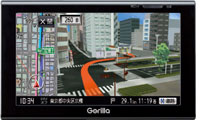
| 【Nav unit】 The NV-SB550DT. A spec with VICS removed from the higher-end NV-SB570DT. |
 |
|---|---|
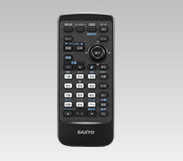
| 【Remote control】 A joystick remote with a numeric keypad. Even on the dashboard, a remote is more convenient than reaching for the screen. |
 |
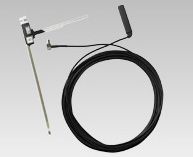
| 【One Seg film antenna】 If reception is a little weak with the unit’s antenna, a film antenna can improve it. Around home, the One Seg signal that sometimes cut out no longer drops out with the film antenna, except in poor spots like tunnels. |
 |
| (Images from SANYO’s website) |
Installation #
By “installation” I mean attaching the included suction-cup in-car mounting kit to the dashboard. It is adhesive, so clean the dashboard first before sticking it on. Run the film antenna cable as follows.
| 【Mounting the film antenna】 Remove the A-pillar (the pillar beside the windshield) and run the wiring. The A-pillar usually comes off by pulling. |
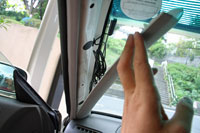 |
|---|
Related products #
Including higher-end models and separate parts, here are related products.
- NV-SB570DT — The higher-end model of the one introduced above. It adds built-in FM multiplex VICS to the NV-SB550DT. I didn’t buy it, but many people compare it with the NV-SB550DT, so I’ll introduce it. (See on Amazon)
- NV-SB550DT — The model I bought. 16 GB SSD, 5.2-inch display, One Seg scheduled recording, music and video playback, built-in battery. See the product page for details. (See on Amazon)
- One Seg film antenna — Mounts on the windshield. (See on Amazon)
- Remote control — Not included with the unit; buy separately if needed. (See on Amazon)
- Cover — Provided by third parties. (See on Amazon)