
Today I tried replacing the valve’s rubber grommet. If you’ve felt your tire losing air more easily lately, suspect the valve’s rubber grommet first. The valve in the photo below (a Dunlop/English-type valve) uses a rubber grommet to prevent air leakage, but a degraded grommet can cause leaks. Replacing the grommet is something you can do yourself.
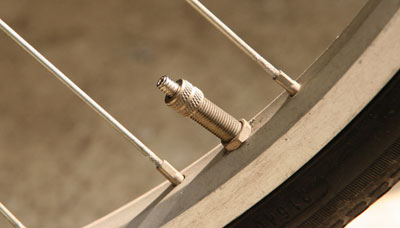
The replacement work #
I’ll explain the work in order. Including taking photos, it took about 30 minutes.
| 【Buying the grommet】 First, buy a grommet. Most shops that handle bicycles sell them. They’re often seen at 100-yen shops too. |
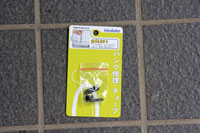 |
|---|---|
| 【Removing the part】 Turn the nut on the valve and remove it. |
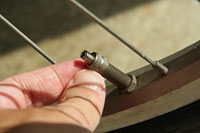 |
| — | — |
| 【Removing the valve】 Remove the valve inside. I hadn’t replaced it since buying the bike, so it was quite cracked. |
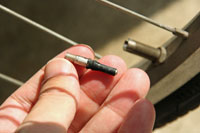 |
| — | — |
| 【Replacing the grommet】 Remove the old grommet and fit the new one all the way down to the base. |
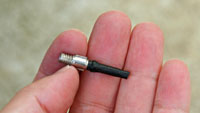 |
| — | — |
| 【Installing】 Fit the valve, tighten the nut, and pump it up - done. |
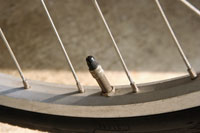 |
| — | — |
Valves that don’t use a grommet #
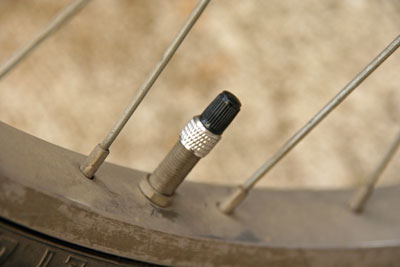
Valves that don’t use a grommet are also sold. They seem to be called “super valves” or “new-type English valves”, and several types are on the market. Since I was at it, I tried buying one. These are also commonly seen at 100-yen shops.
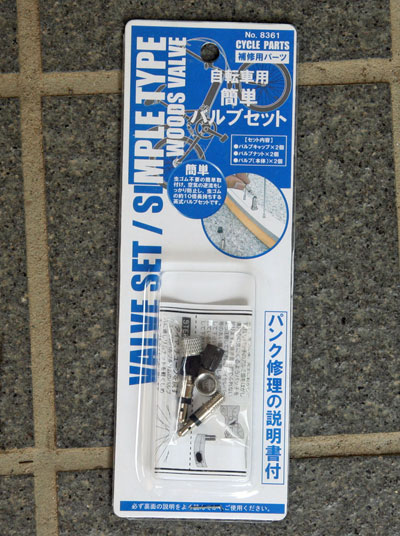 Installation is easier here, since there’s no grommet to replace.
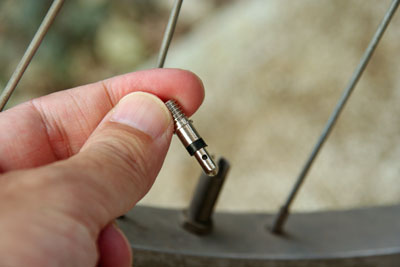 The nut and cap are both new, so it looks a bit out of place for now, but it will probably blend right in.
 If you can’t find a super valve at a shop near you, it’s also available on Amazon.